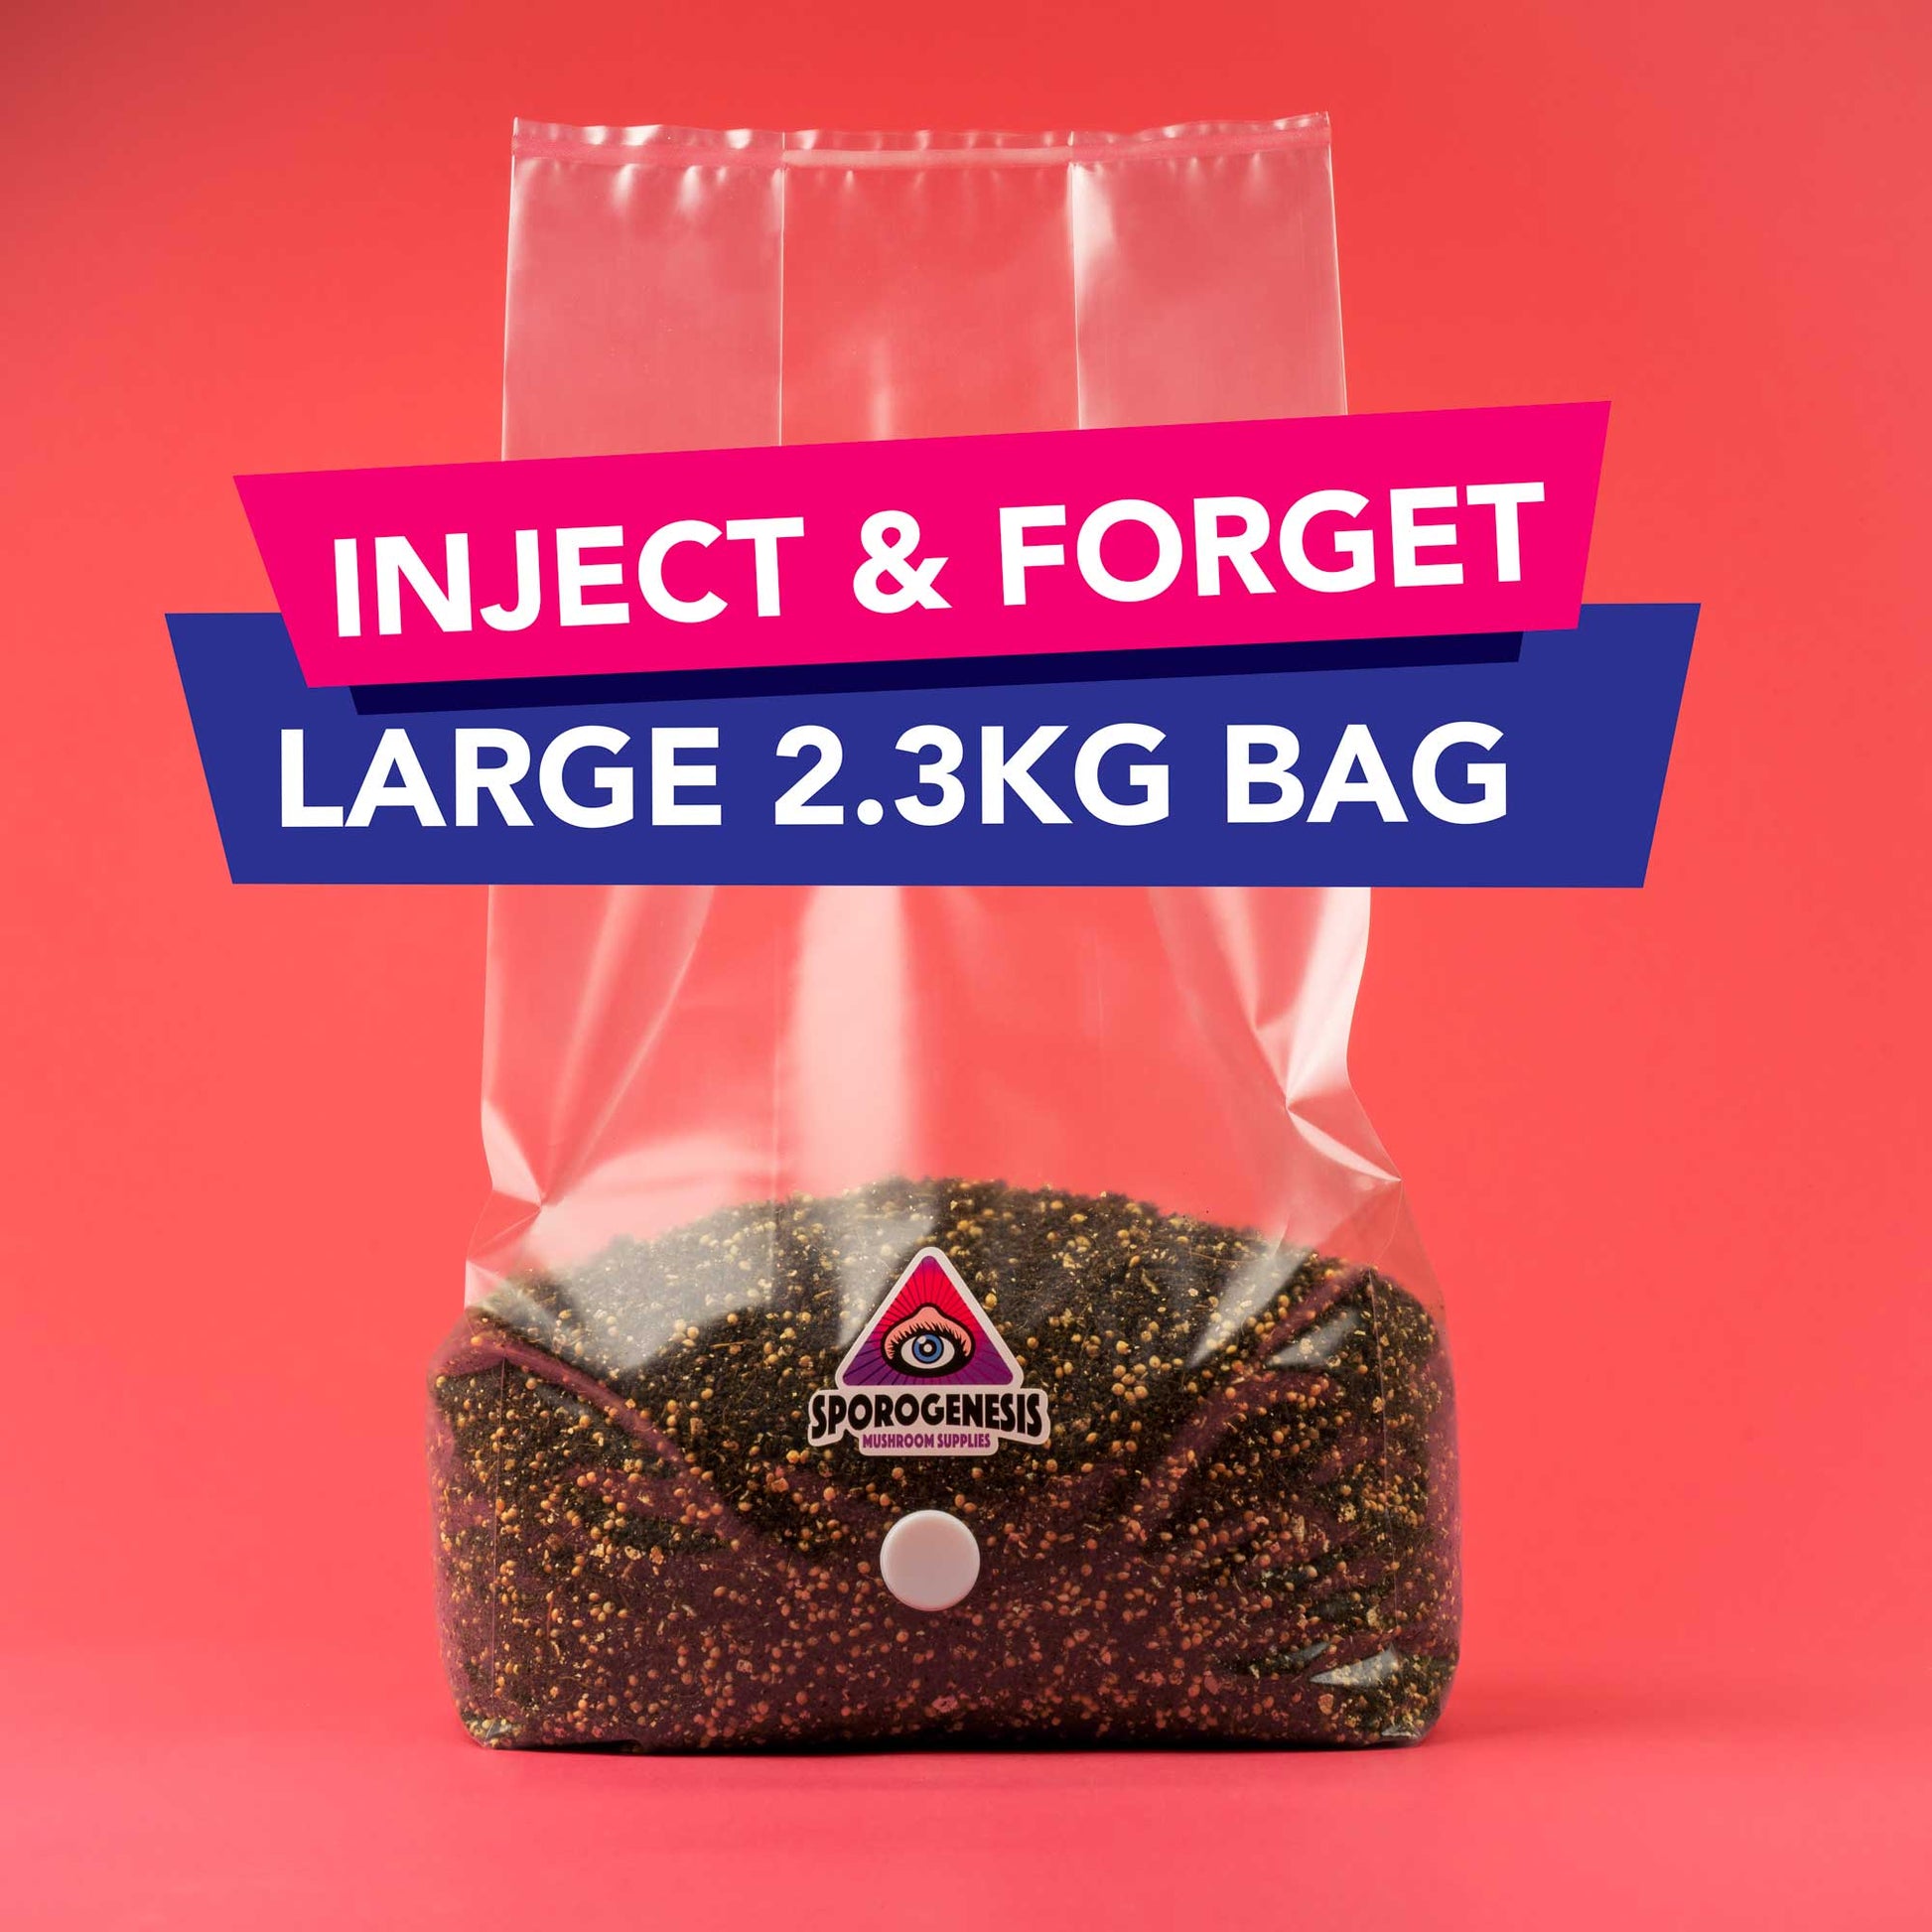
Inject & Forget Mushroom Grow Kit
Inject & Forget Mushroom Grow Kit
Couldn't load pickup availability
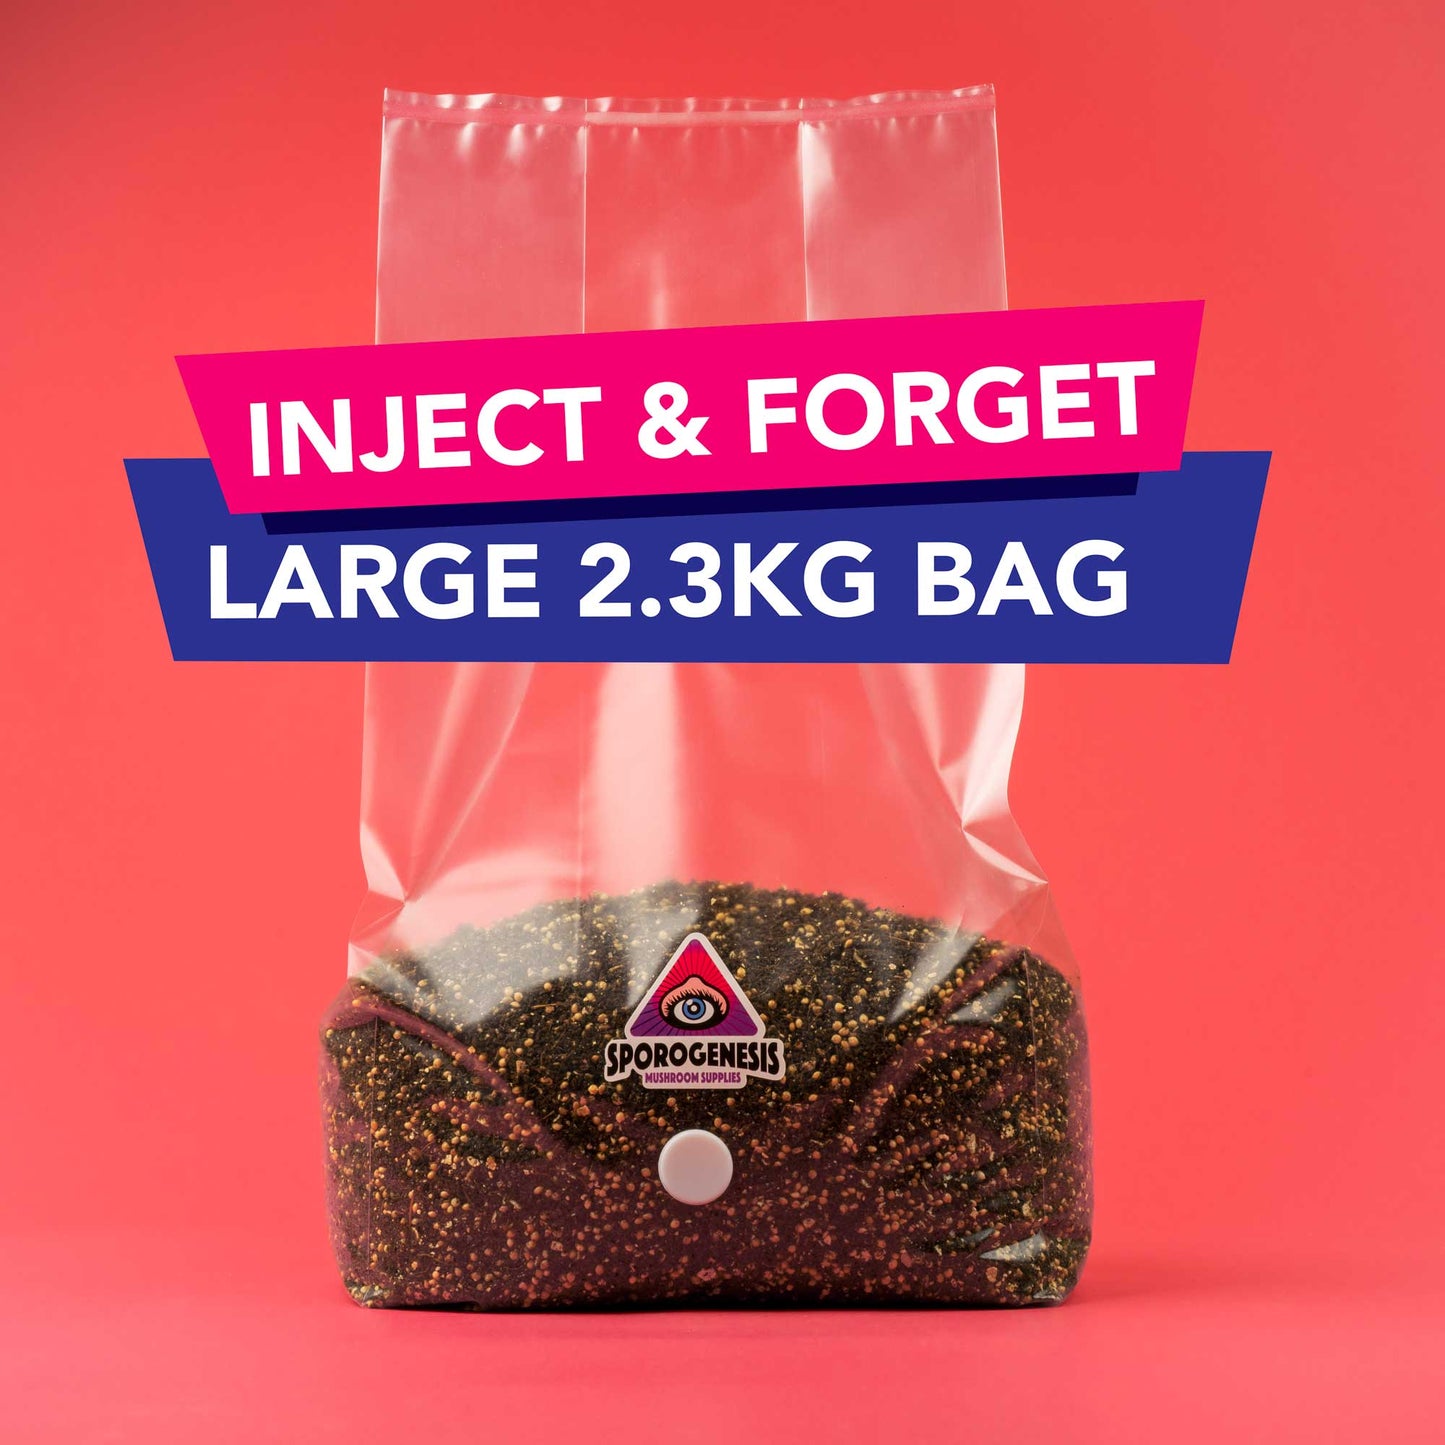
- Beginner-friendly – perfect for first-timers
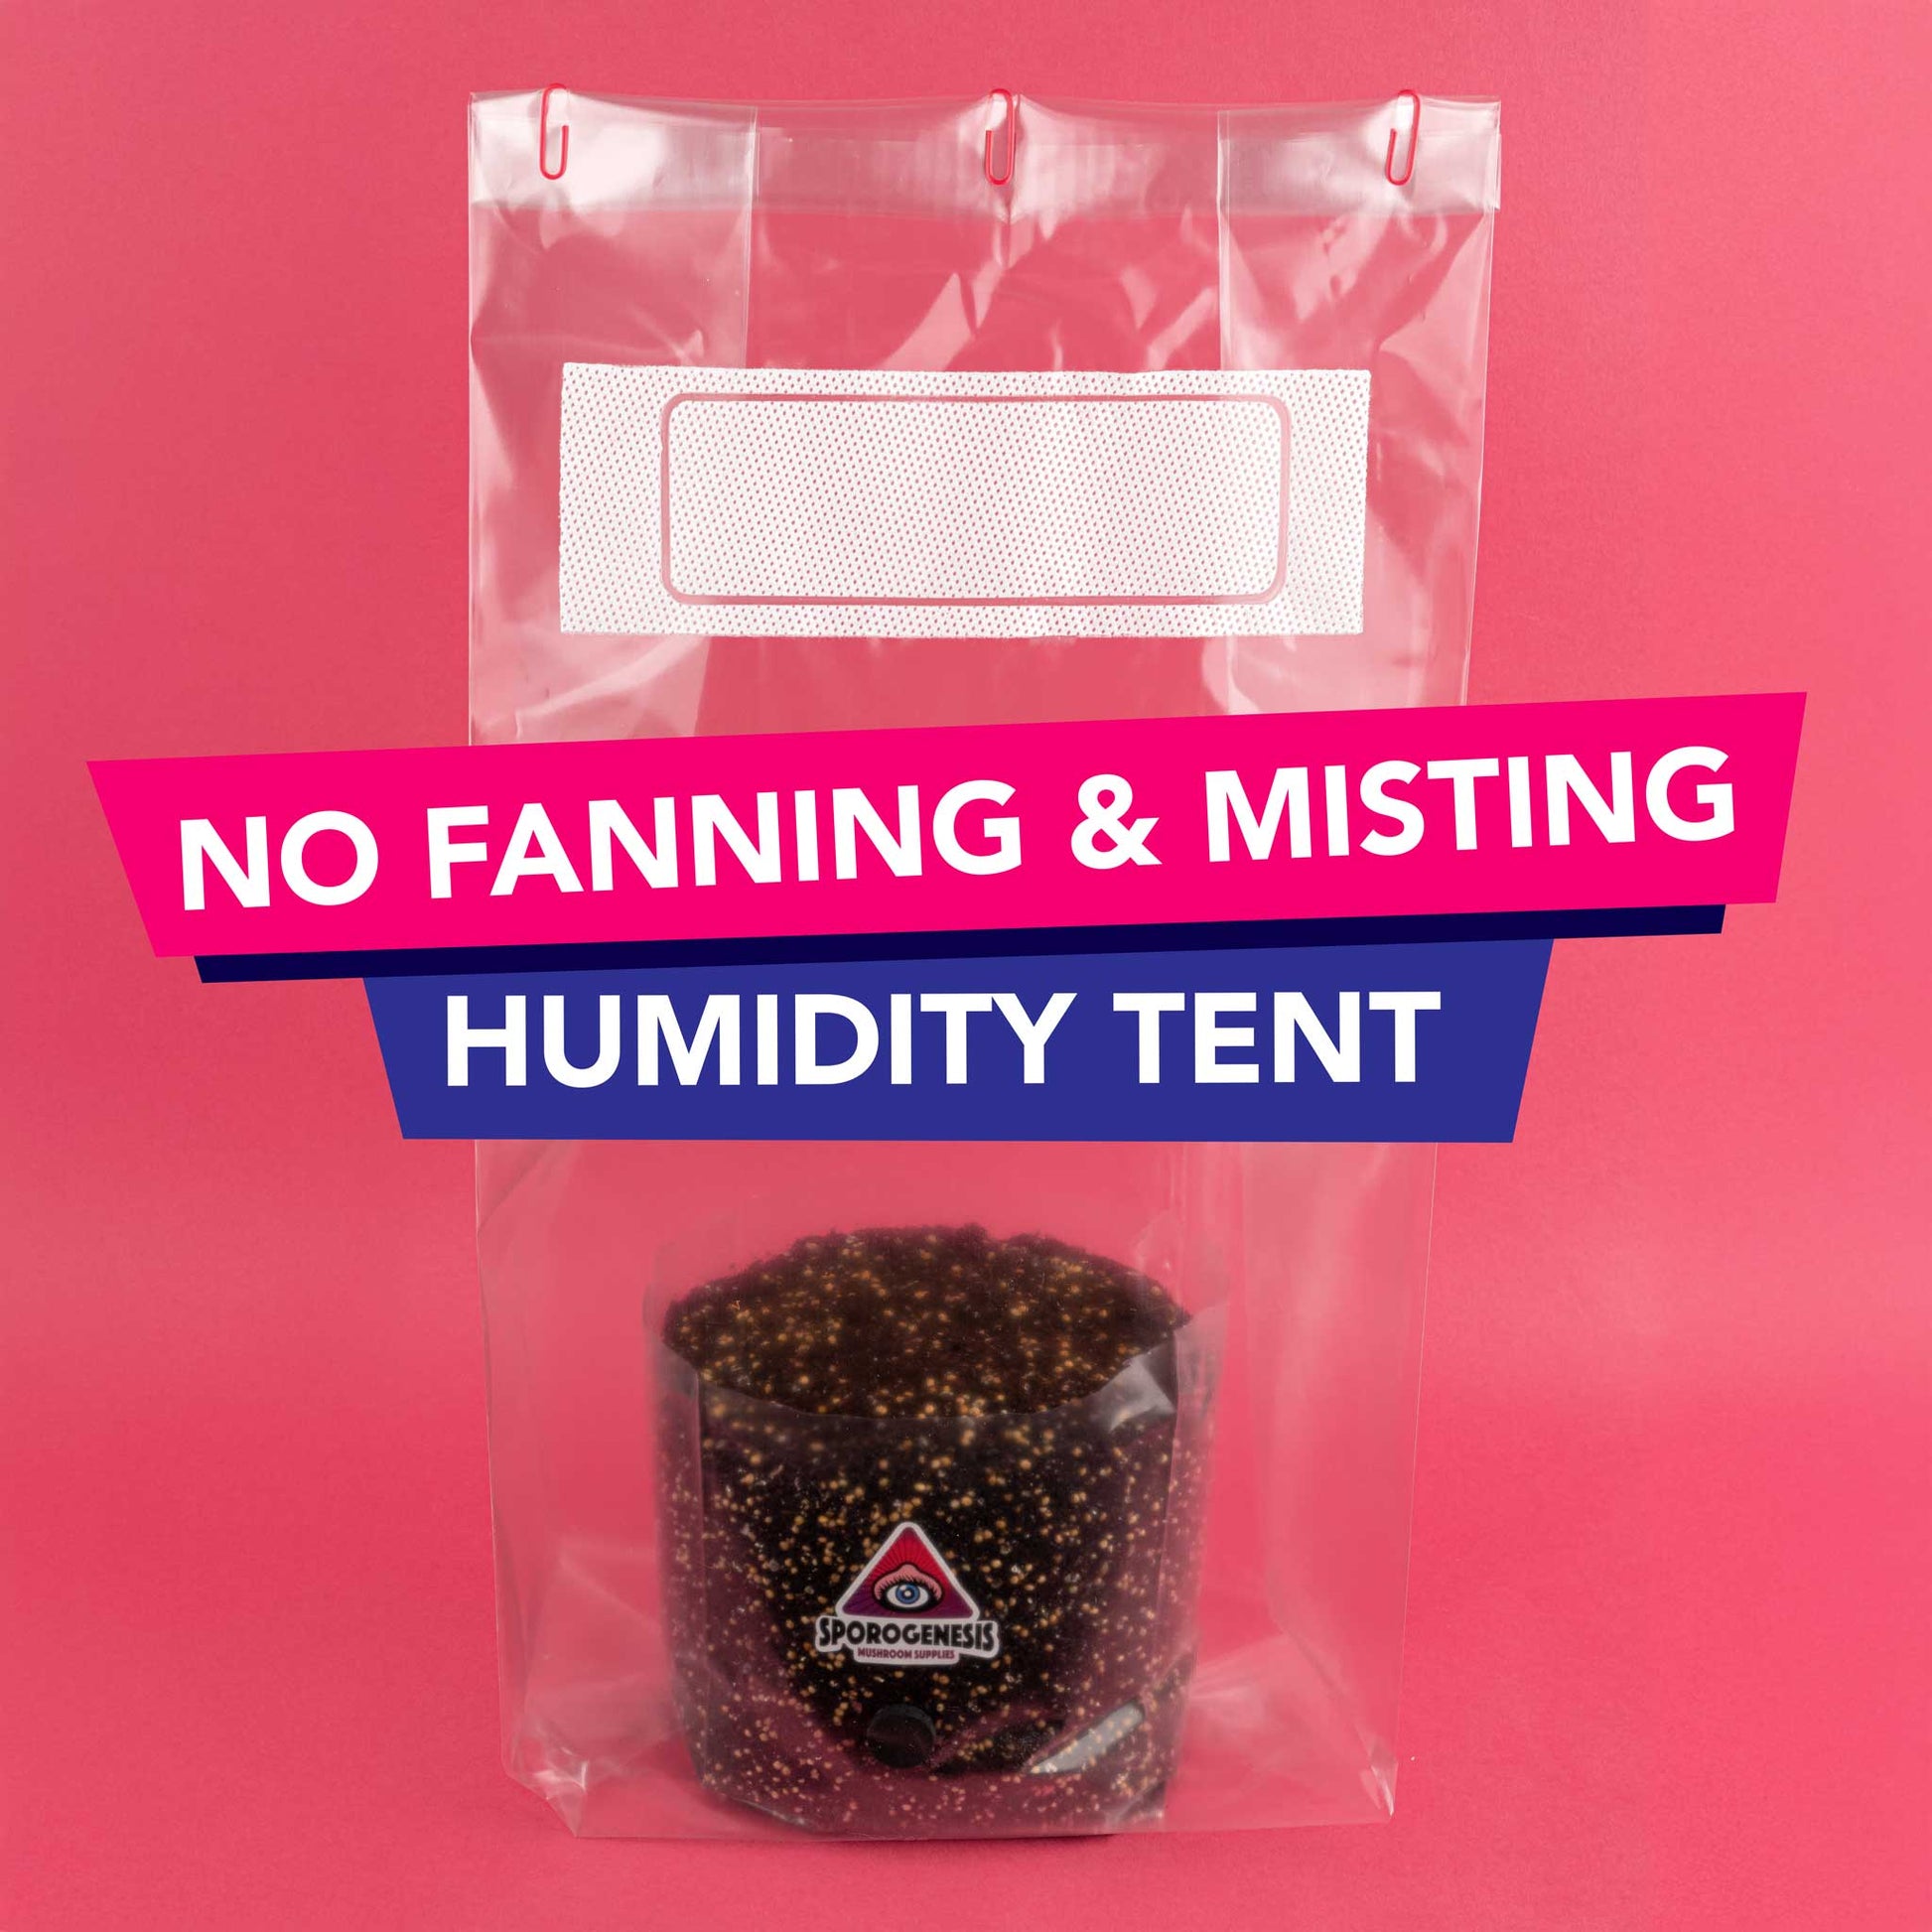
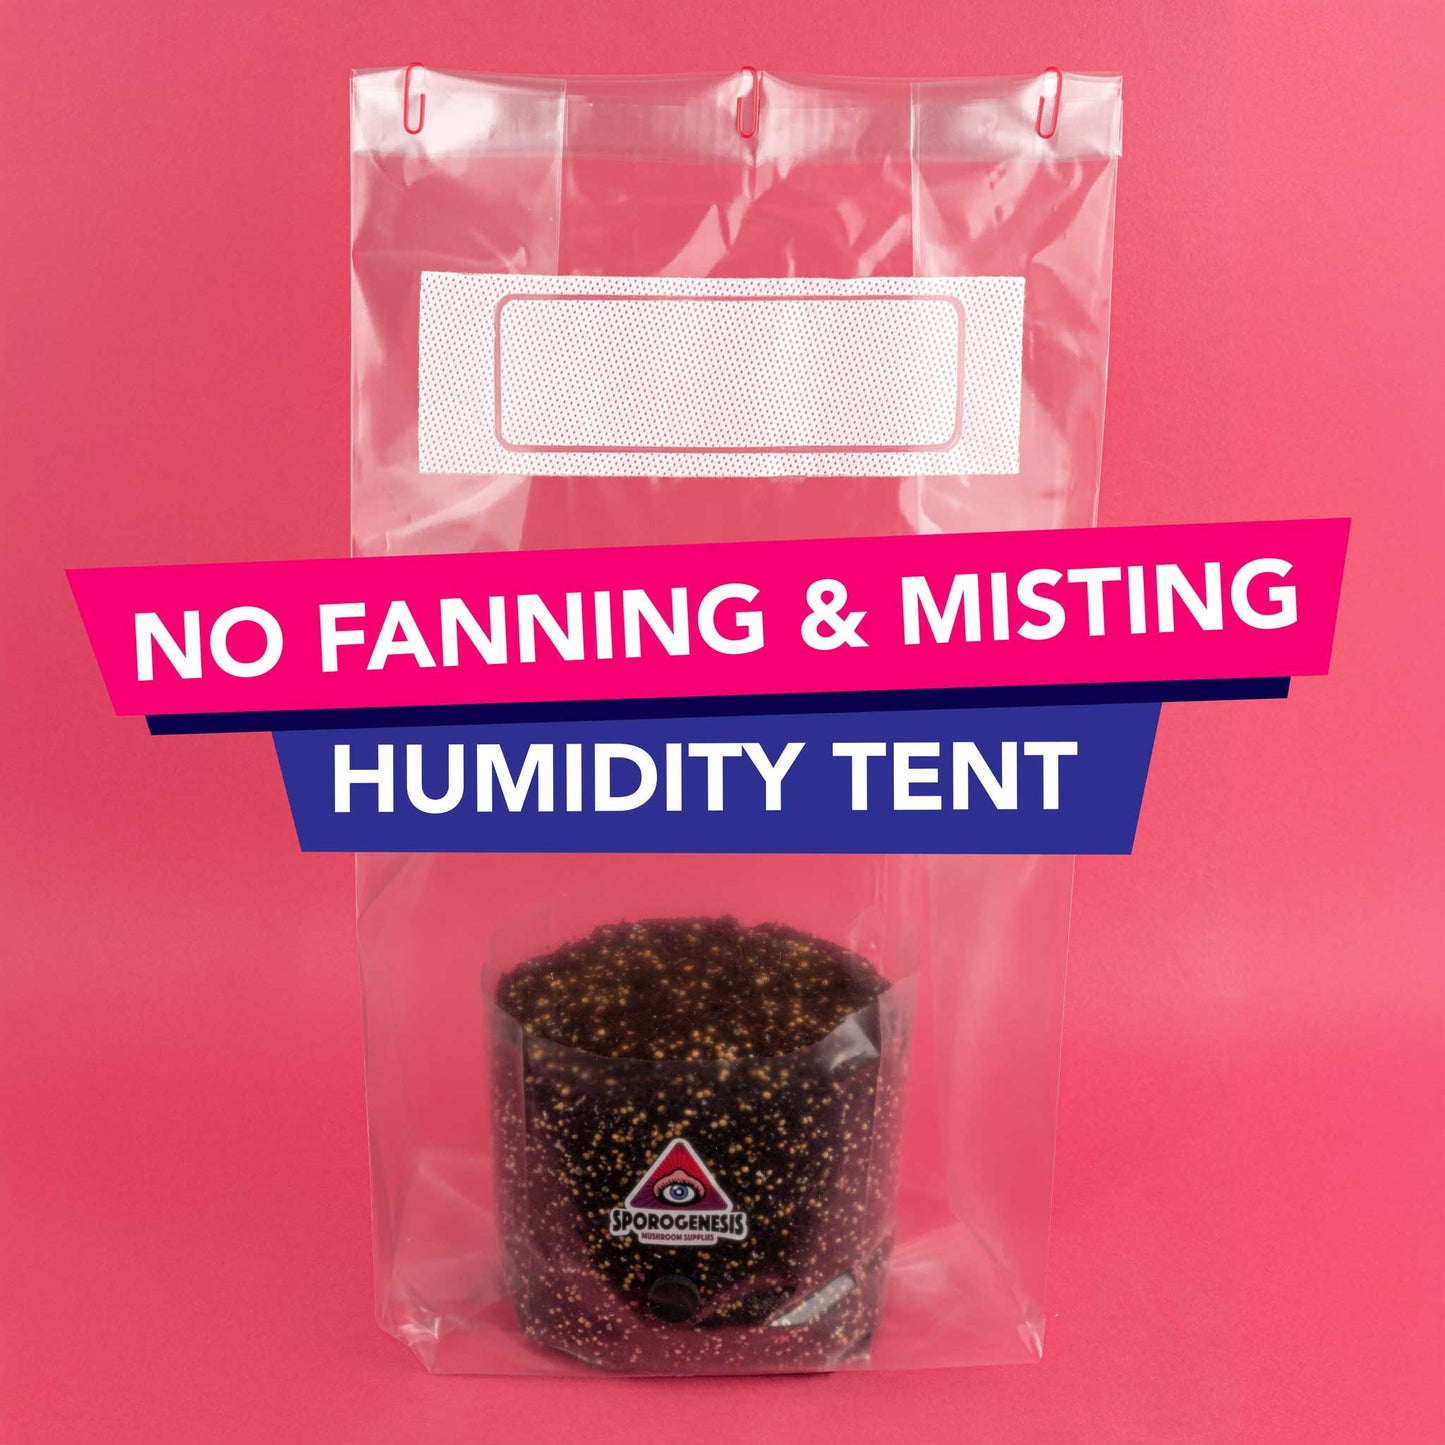
- No fanning or misting required with optional humidity tent
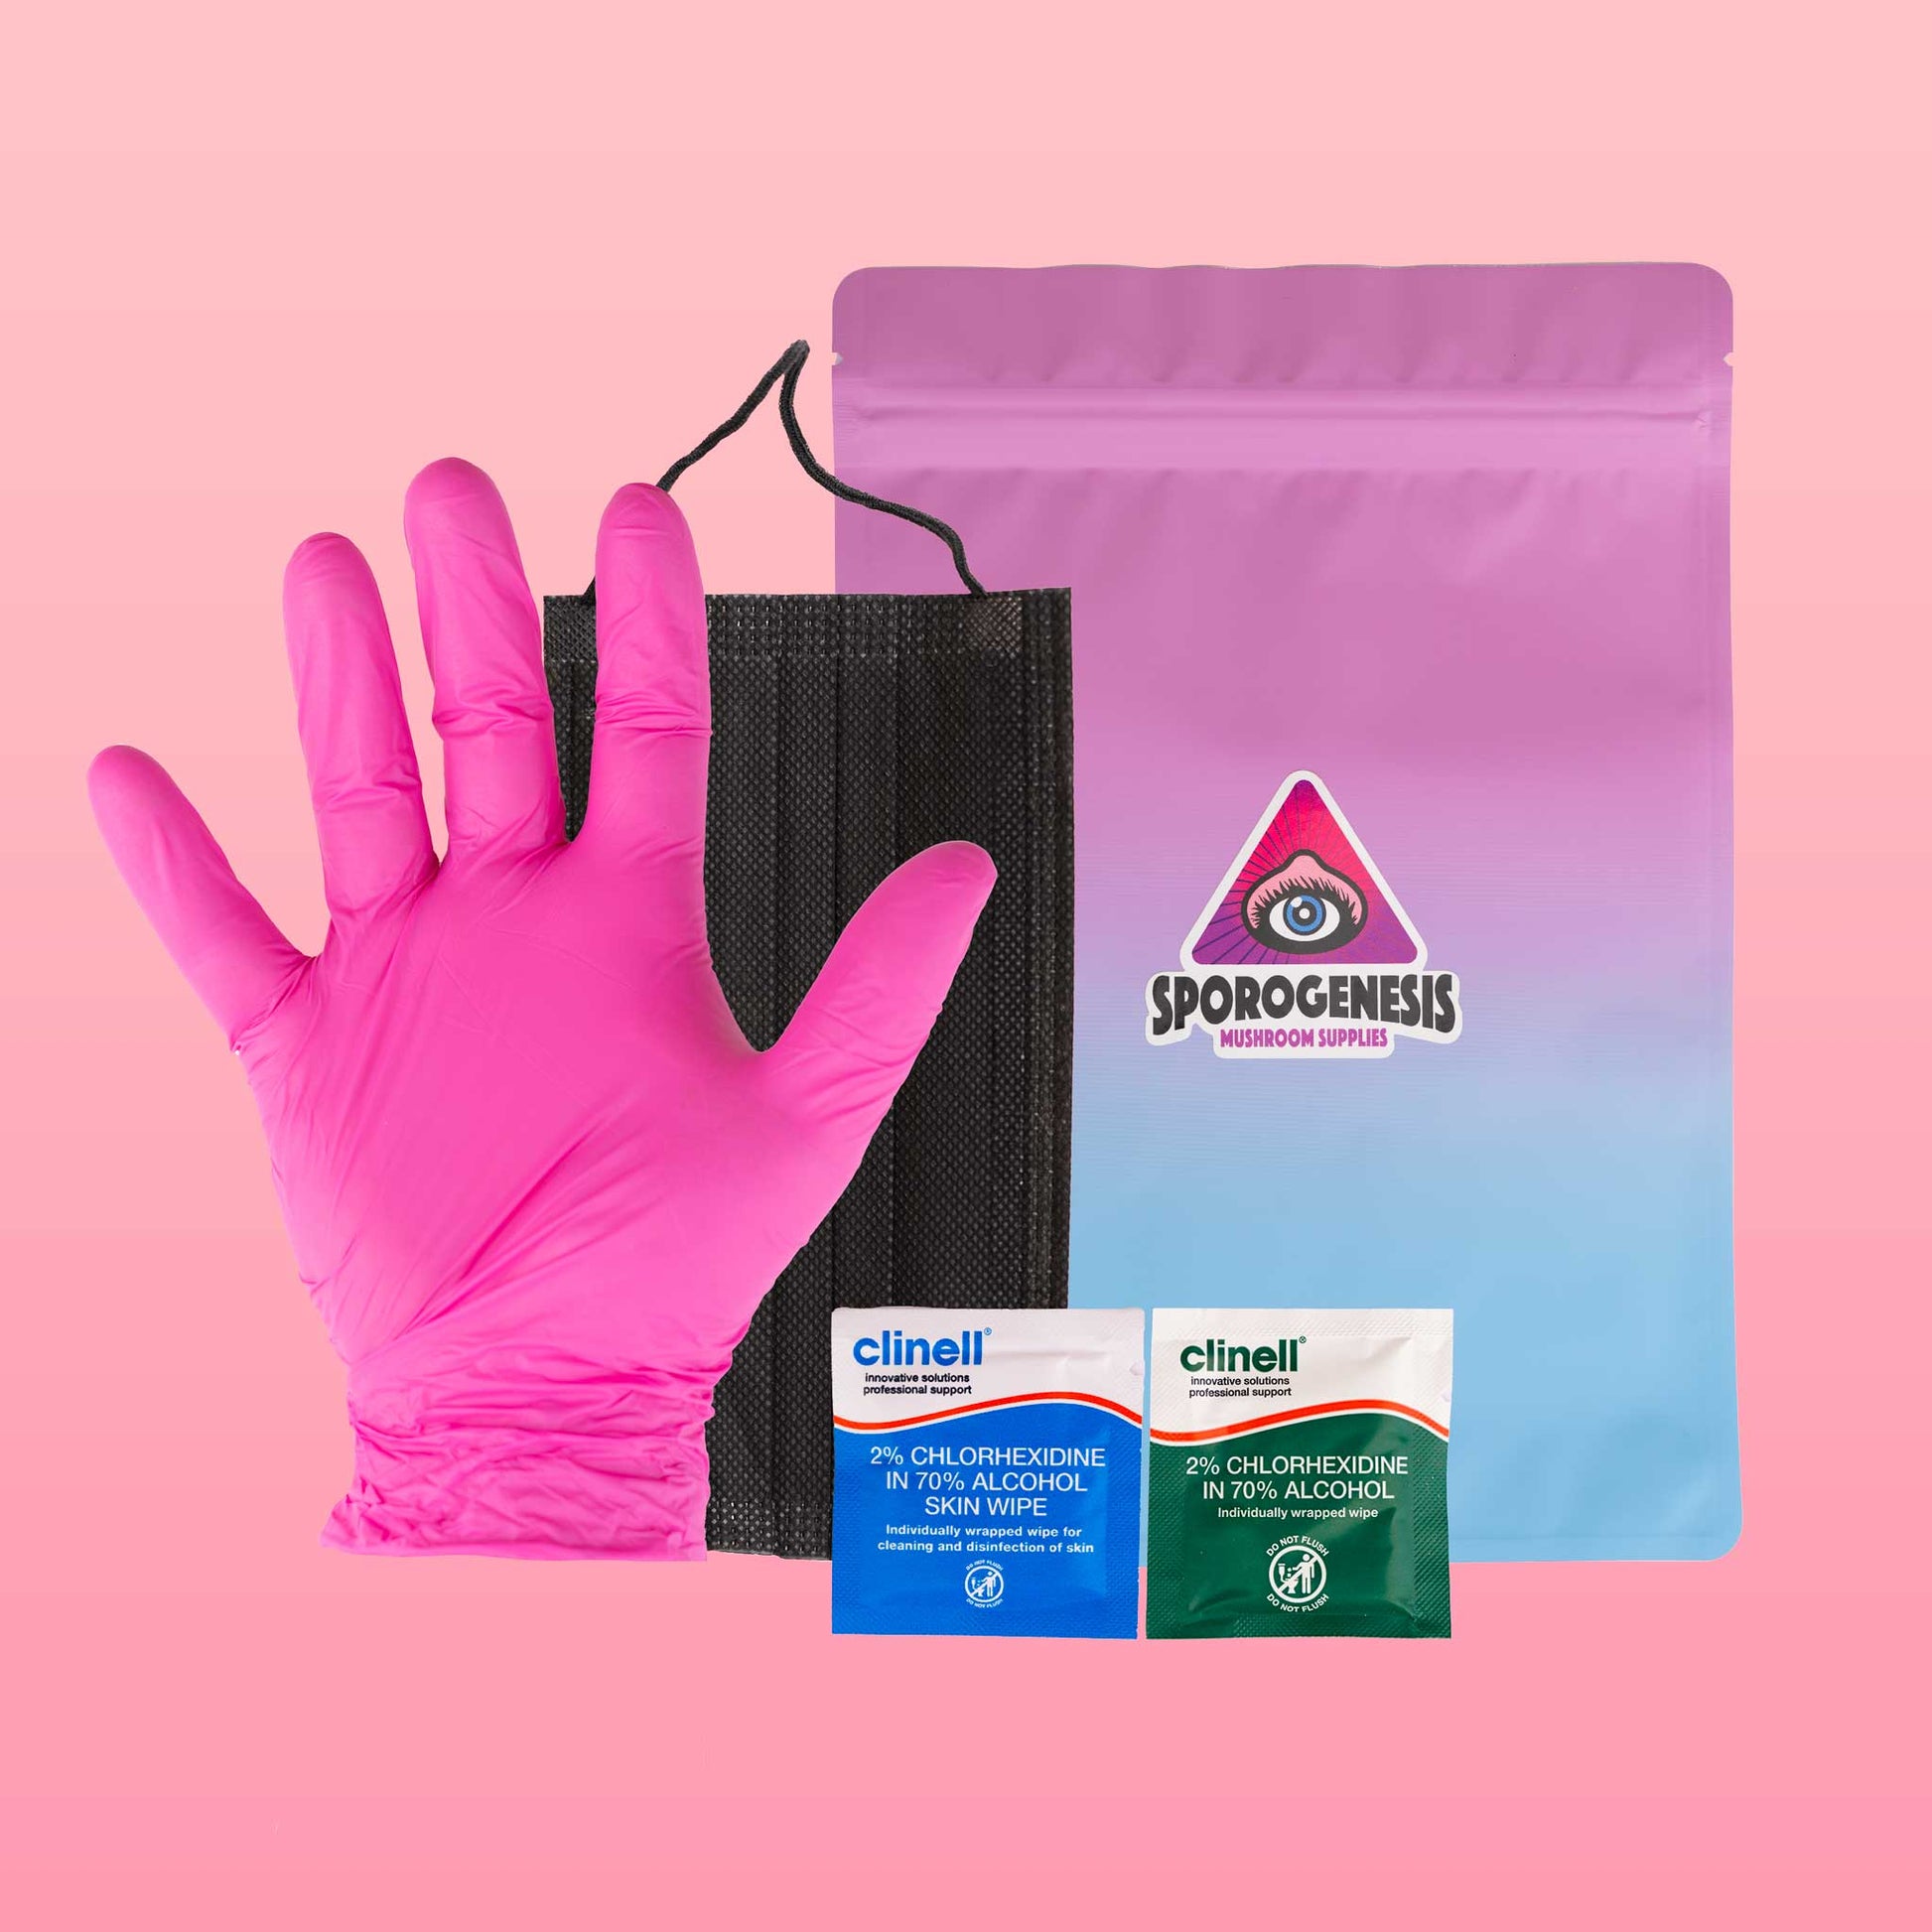
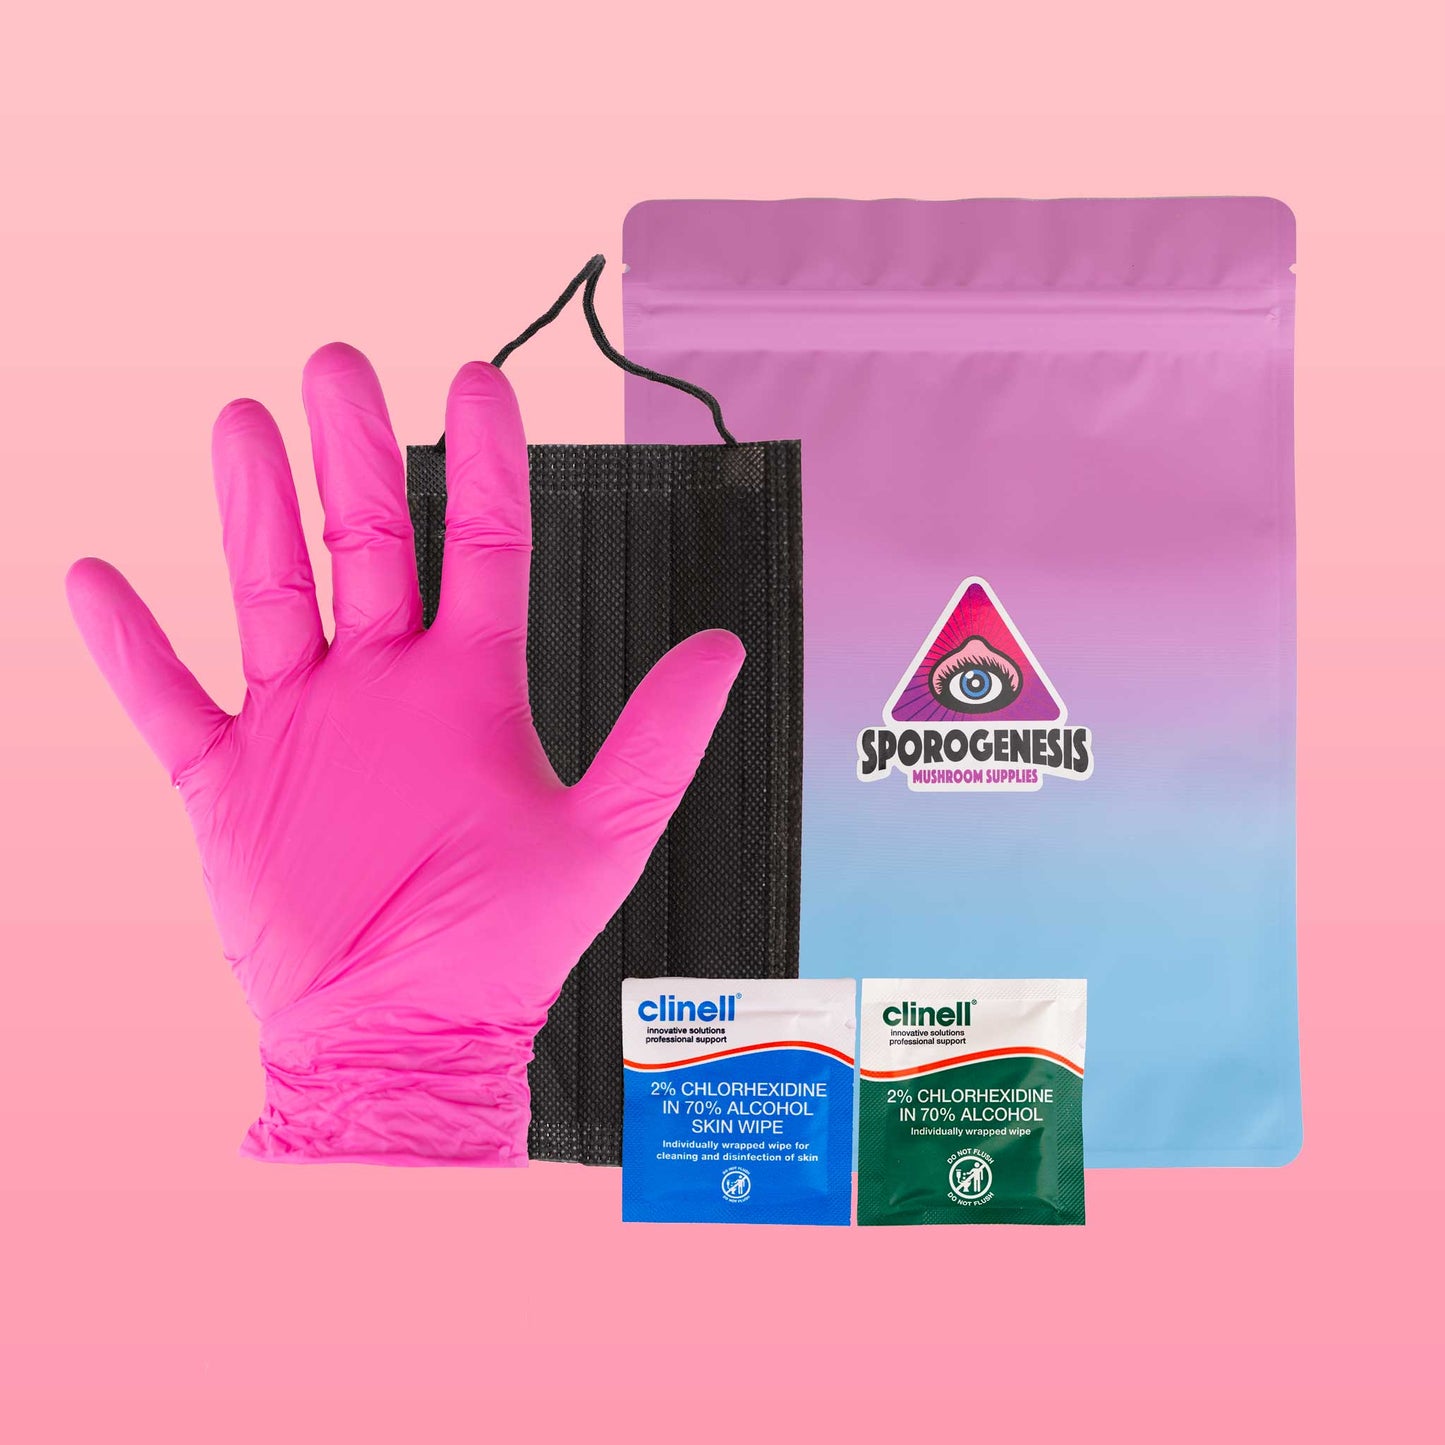
- Sterility pack included: gloves, face mask and wipes
- Works great with healing and gourmet mushrooms
- Spores / Liquid Culture not included
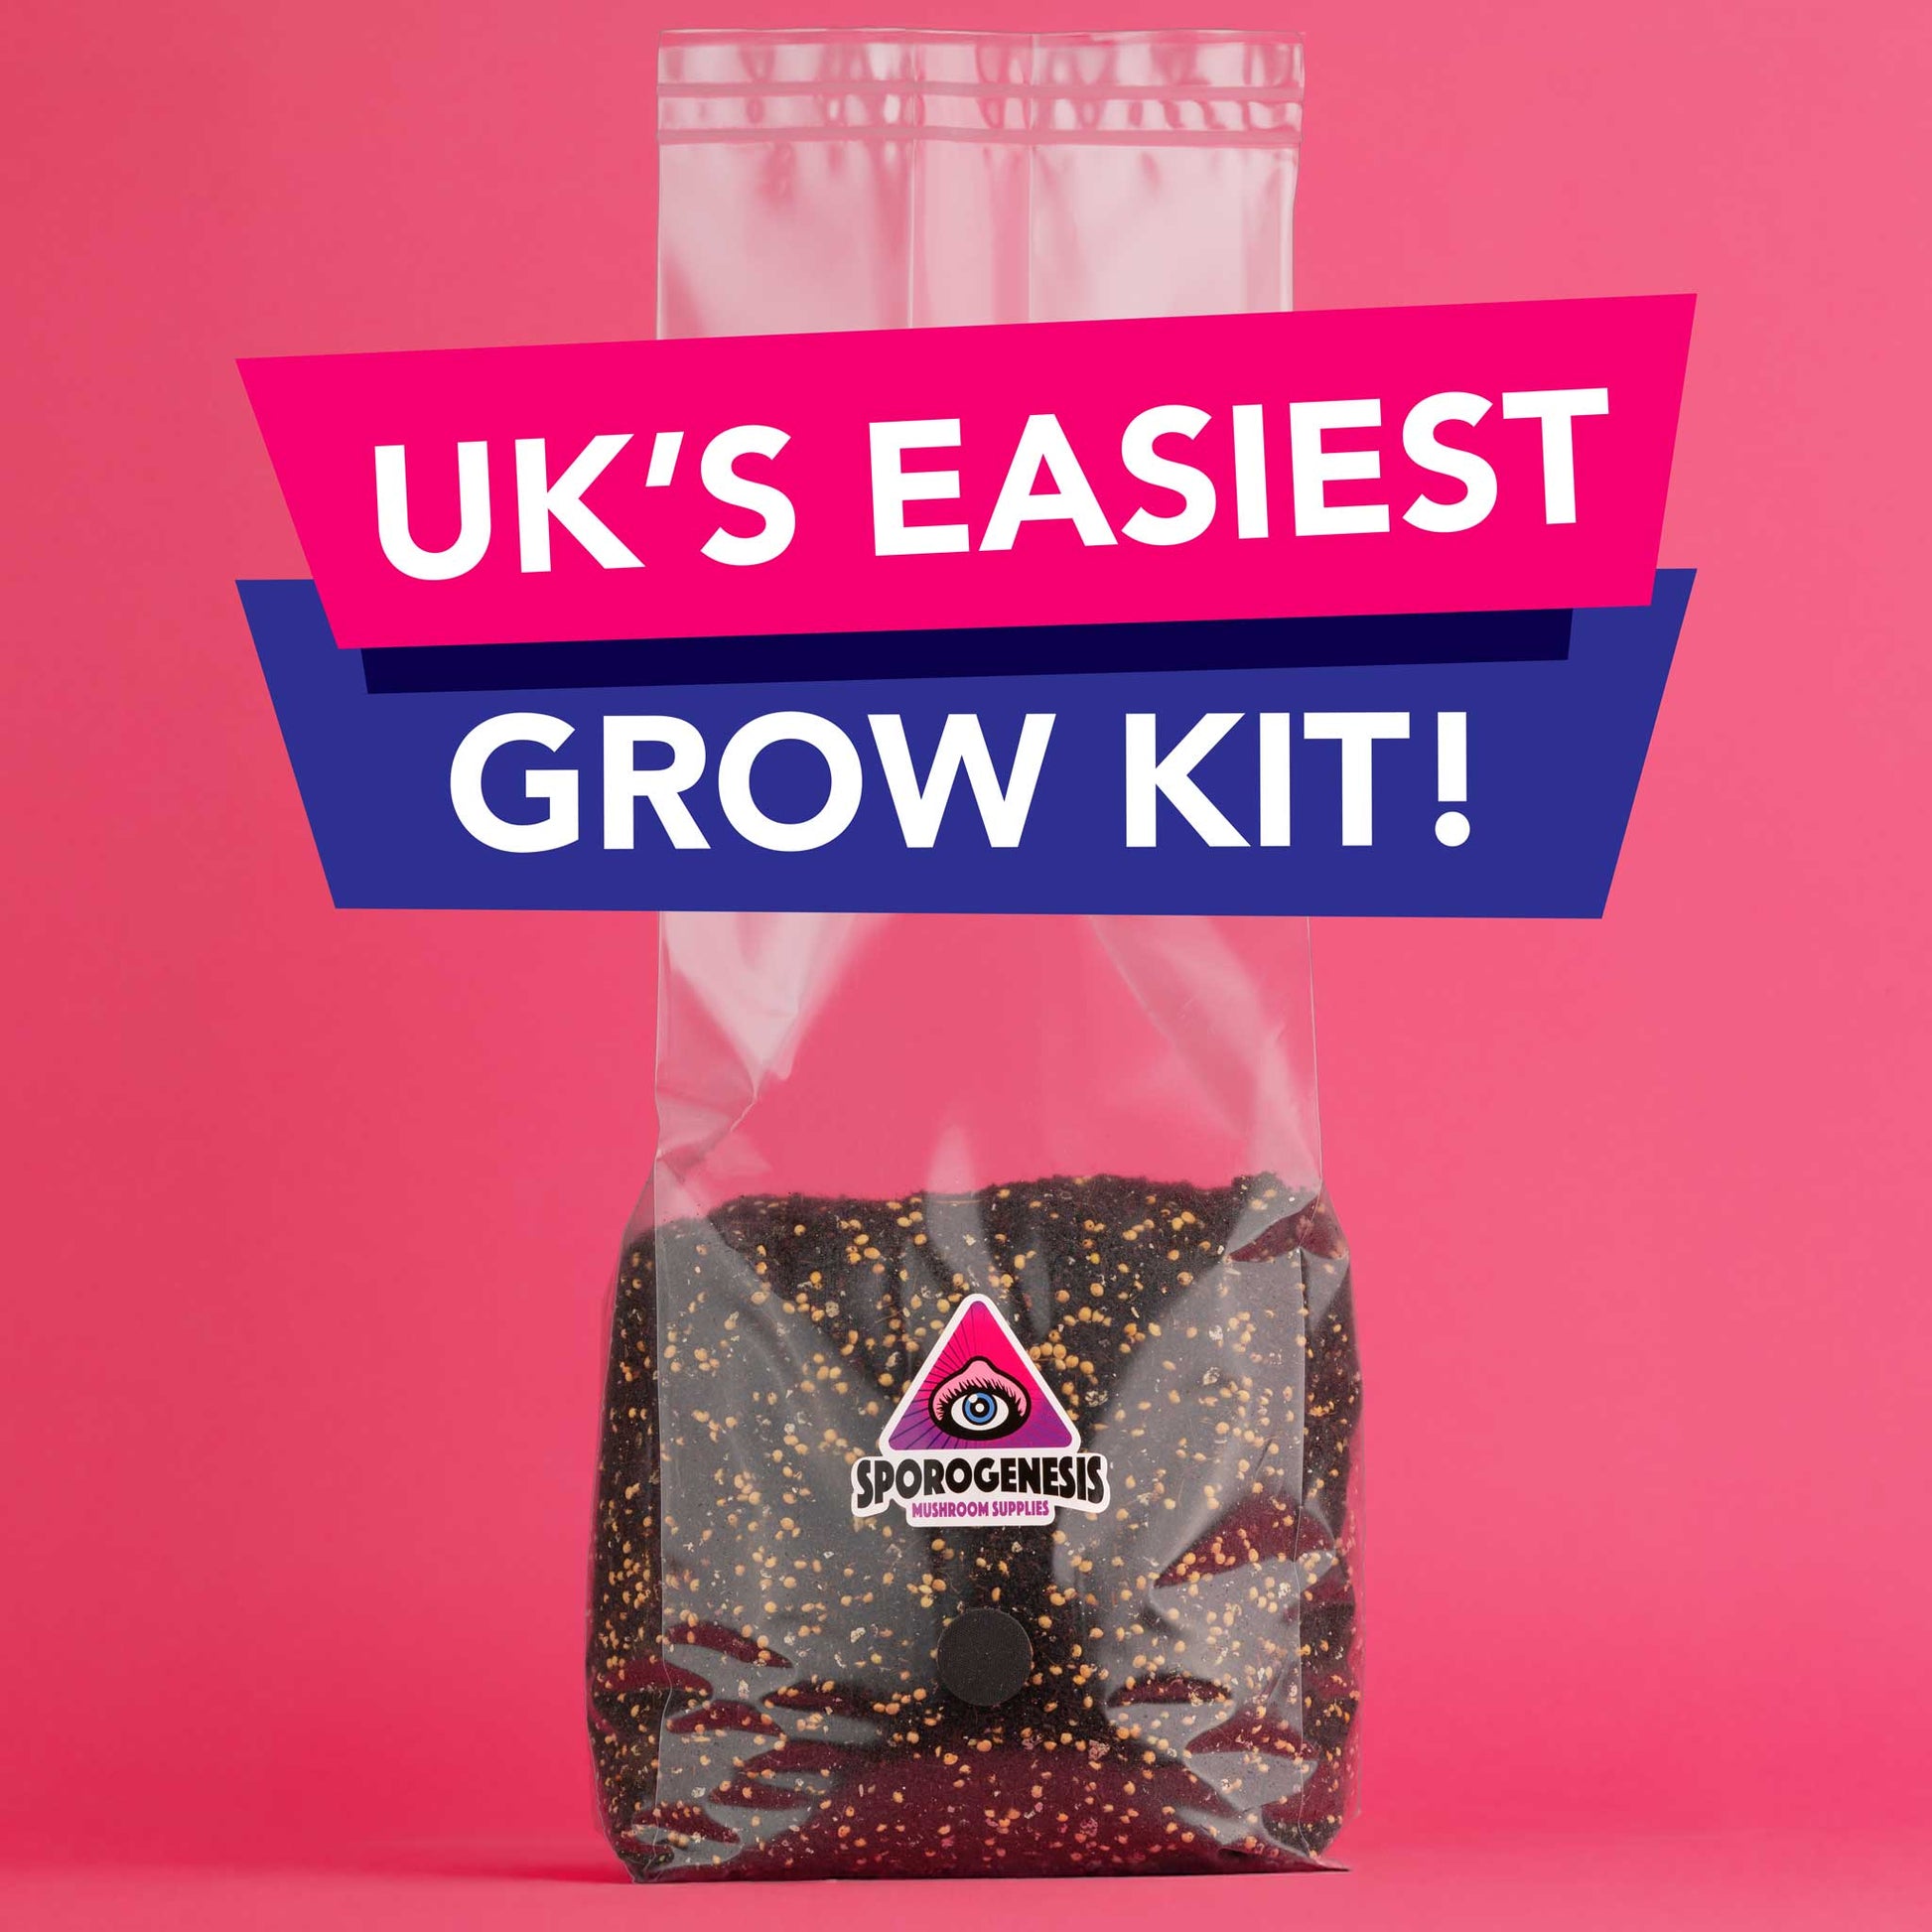
Looking to grow mushrooms but don’t wanna mess around with fussy setups that need constant attention? Say hello to the ultimate grow kit – perfect for total beginners or anyone after the easiest, most hands-off grow kit money can buy.
After months of developing and fine-tuning grain-to-substrate ratios, field capacity levels, and testing different sizes and weights with our legendary Telegram group, we’ve perfected the simplest mushroom grow kit in the UK!
When we say easy, we mean zero maintenance. This kit includes an optional, reusable ‘No Fanning & No Misting’ humidity tent – no fanning, no misting, no babysitting. The massive breathable filter patch manages airflow while locking in moisture effortlessly.
Just cut open your fully colonised mushroom grow bag, pop it in the humidity tent, and flick on the lights to kickstart the magic. Simple as that.
Grab yours today and see how effortless mushroom growing can be!
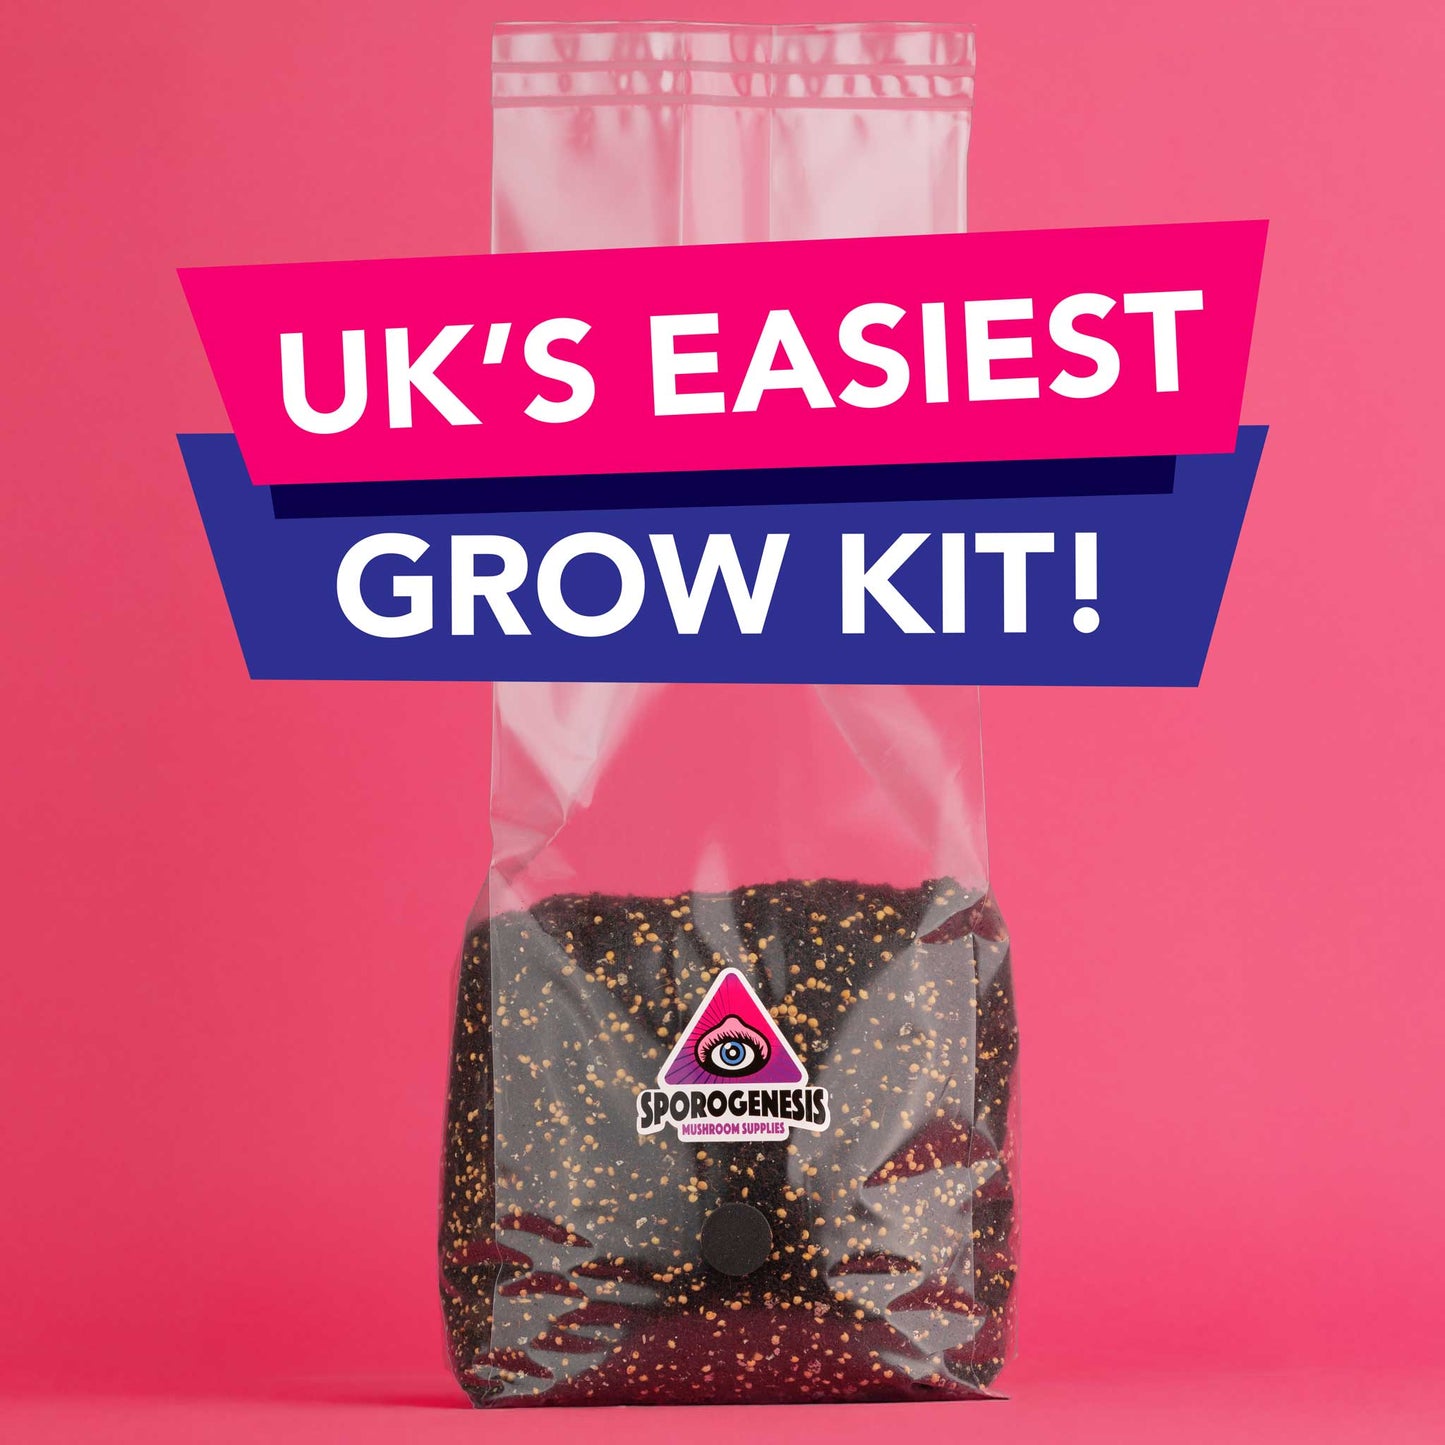
Inject & Forget Mushroom Grow Kit Instructions
1. Prep Your SpaceTime to set the stage.
Wash your hands, put on some clean gear, and get that workspace spotless. Shut the windows and doors to keep the air still, and wipe down your working surface. You want everything as clean as possible.
2. Injection
Gloves on, legend. Wipe your gloves down with the skin wipe provided—gotta keep it sterile. Then, grab the green Clinell wipe and clean the injection port and its surroundings. Now, inject 5ml of well-shaken liquid culture or spores. Boom, you’re on your way.
3. Colonisation
Stick that bag in a dark, warm spot—aim for 20-26°C. But hold up—before you think of using a heat mat, check out our blog post. Mycelium typically shows up in about two weeks, but this can vary depending on factors like the spores’ viability, genetics, and temp. Be patient; good things are brewing.
4. Break & Shake
Once you see the mycelium covering 20-30% of the bag, it’s time for action. Gently break up the mycelium and shake the bag to spread it evenly. This move will speed things up massively. Reshape the bag back to its original shape, making sure the surface is nice and flat. Put the rubber band an inch below the substrate line. This will discourage the mushrooms from growing sideways.
5. Fruiting Time
When the bag’s fully colonized, it’s time to start fruiting. Cut the top of the bag about an inch above the substrate level and place it in the ‘No Mist No Fan’ humidity tent. Fold the top of the tent a couple of times and clip it with the paper clips provided.
No misting needed—this bag’s got all the moisture it needs. The massive breathable filter patch manages airflow while locking in moisture effortlessly. Light it up—12 hours on, 12 hours off works best. A simple, cheap cool white LED light will do the trick.
